Last updated on August 23rd, 2023 by Jules Winnfield

Nothing can quite get you out of bed like the tantalizing aroma of a well-roasted cup of coffee.
This beverage is beloved by early risers and night owls alike thanks to its remarkably high caffeine content and is an excellent way to get an immediate mood and energy boost.
Not only can a cup of coffee soothe the senses, but it can also increase productivity levels throughout the day, preparing you for just about anything to come your way.
Whether you are a pro at making your coffee or have a regular schedule at your local cafe, there are so many varieties of coffee for you to choose from.
If you’re not experienced at brewing coffee, then it’s likely you don’t know how to achieve the perfect blend of flavor.
While you don’t need to be a five-star barista to make a cup of coffee at home, making the perfect brew is a whole new ballgame!
Yet you shouldn’t be disheartened if you find yourself a bit lost in the process. Not everyone is born with a knack for roasting coffee!
For those coffee lovers that want to sit back, relax, and enjoy a cup of joe with a delectable and highly enticing aroma, we’ve got you covered. Here’s how to brew the perfect cup of coffee at any time of day in 9 simple steps.
- 1. Find the Right Roast for You
- 2. Get the Right Water Quality and Temperature
- 3. Grind Your Own Beans
- 4. Gather and Invest in Good Tools
- 5. Weigh Your Coffee—And Water
- 6. Take the Water’s Temperature
- 7. Time It
- 8. Pick Your Brew Method
- 9. Descale And Clean Your Coffee Maker Regularly
- Frequently Asked Questions
- Final Thoughts
1. Find the Right Roast for You
There is no ‘one coffee fits all’ rule, nor are there any restrictions about how a roasted coffee should be consumed. What you can count on is that freshly roasted coffee will produce a quality tasting result.
You can usually count on a cup of coffee falling under one of the following roasts:
- Light: a pale brown roast that preserves more of coffee’s natural flavors, highlights the natural acidity of the beans, and also emphasizes the fruity flavors of the coffee; white coffee roast is also an option to consider.
- Medium: a brown roast that also preserves coffee flavoring but develops a more intense taste from the roasting.
- Medium-dark: a shade darker than the medium roast, this has hints of its origin flavors, elements of the roasting process, and also has a bolder body.
- Dark: can be dark brown or black and a flavor profile dominated by the roast. These deeper tasting notes often result in a bolder body without any acidity.
For the best taste, many coffees will need to be consumed within a couple of days after the roast date, whereas others retain their quality for longer periods.
The flavors that you can extract depend entirely on the porous nature of the beans and the way they react to water. Unfortunately, even the most skilled barista cannot accurately determine these flavors!
You can also consider a coffee subscription box that is sent to you each month that is filled with the freshest roasted coffee from all over the world.
2. Get the Right Water Quality and Temperature
A big factor that determines the overall flavor profile of your favorite roast is how much water is agitating the coffee bean. Coffee to water ratios can impact the strength and flavor of your coffee. In general, the SCAA recommends the ideal coffee to water ratio be between 1:15 – 1:18 (coffee:water), or 1 part coffee to 15 parts water.
In addition, your water temperature will play a huge role in determining the flavor of your coffee.
For example, if you pour at a lower temperature (around 185 degrees) you will be extracting less of the bean’s natural flavor notes over a set time period, ending up with usually a sour salty tasting coffee.
If you pour at a higher temperature of around 205 degrees (SCAA’s recommended temperature for a Golden Cup) you will have better extraction of the coffee’s compounds via the process of hydrolysis and produce a more balanced flavorful cup.
Water quality is also crucial to making the best cup of coffee. This is because the flavor and overall quality of tap water change depending on the location.
Some of this water will have fewer minerals than others which is what will lead to a better-tasting cup of joe.
- Some types of tap water will be tasteless whereas other types may have a sharper taste. To prevent this problem, you should look into using filtered water from a Brita.
- You also need to avoid re-boiling water that has come out on the other side of the heating process – despite how easy it is to leave already-boiled water in a kettle or a gooseneck kettle.
You also need to wait around thirty seconds after the water has boiled to begin pouring it over your coffee. It’s best to try and keep your water’s pH range at 7.
3. Grind Your Own Beans
Like most things in life, no two grinds will be the same. To make a quality cup of coffee you need to know that there is no one-size-fits-all in terms of grind size.
Instead, the thing that makes up the perfect grind is your palate.
But don’t let this fool you – a grinder is still a necessary tool when looking to make the perfect cup of coffee! (or opt for a coffee maker with a built in grinder to make things simpler)
One of the main benefits of grinding your coffee down is that you can accurately “calibrate” the grind depending on the method of brewing you prefer and your favorite type of coffee.
Then, once you’ve learned what works with your system of brewing, you can easily replicate it whenever you want to.
When grinding your coffee, you should consider the following things:
- Do you want a sweet cup of coffee?
- Do you prefer a caffeinated cup of coffee?
A finer grind with smaller particles and a larger surface area will showcase more of a coffee’s nuanced flavor whereas a coarse grind will pack a stronger punch in terms of its flavor.
This means a finer grind is best if you want to maximize the flavors from say an espresso which has a quick brewing time and short but pressurized contact time with the water.
Courser grind profile works best for longer brews (ie. French press, Cold brew) where the flavor is gradually extracted and robust.
When grinding your beans, it’s also super important to clean your grinder between uses so you aren’t ruining your quest for the perfect cup of coffee by contaminating your coffee with old grinds.
4. Gather and Invest in Good Tools
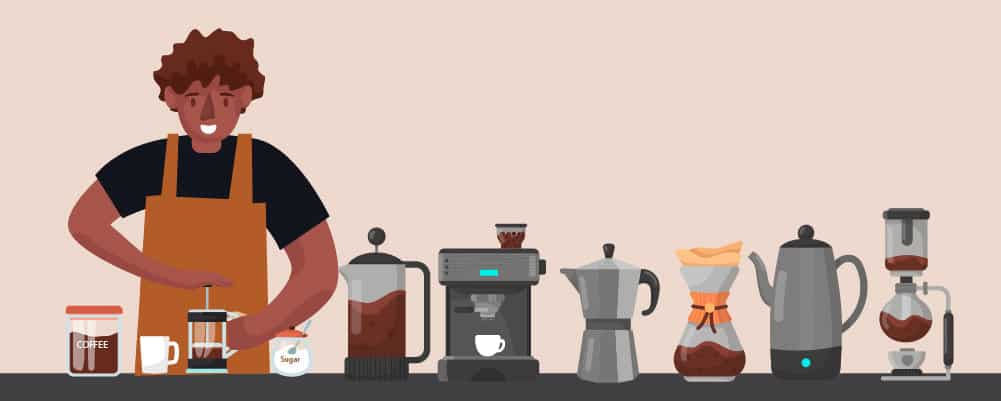
Much like a Michelin star chef wouldn’t enter the kitchen without high-quality tools and ingredients, a barista is only as good as their tools and coffee beans.
It’s entirely possible to make a good cup of coffee without needing to fork out money for expensive tools and ingredients.
Yet splurging on these will make it easier to replicate the coffee shop experience from the comfort of your own home. Here are some of the main tools you will need to consider to brew the perfect cup of coffee:
Burr Grinders
To achieve a smoother and more well-rounded cup of coffee, you want to think about the grind profile – or the shape and size of the coffee grounds.
The motion a blade grinder makes usually produces uneven-shaped grounds whereas a burr grinder uses cylindrical surfaces (burrs) to crush the beans into a uniform size. Uniform size means even extractions and consistent flavor.
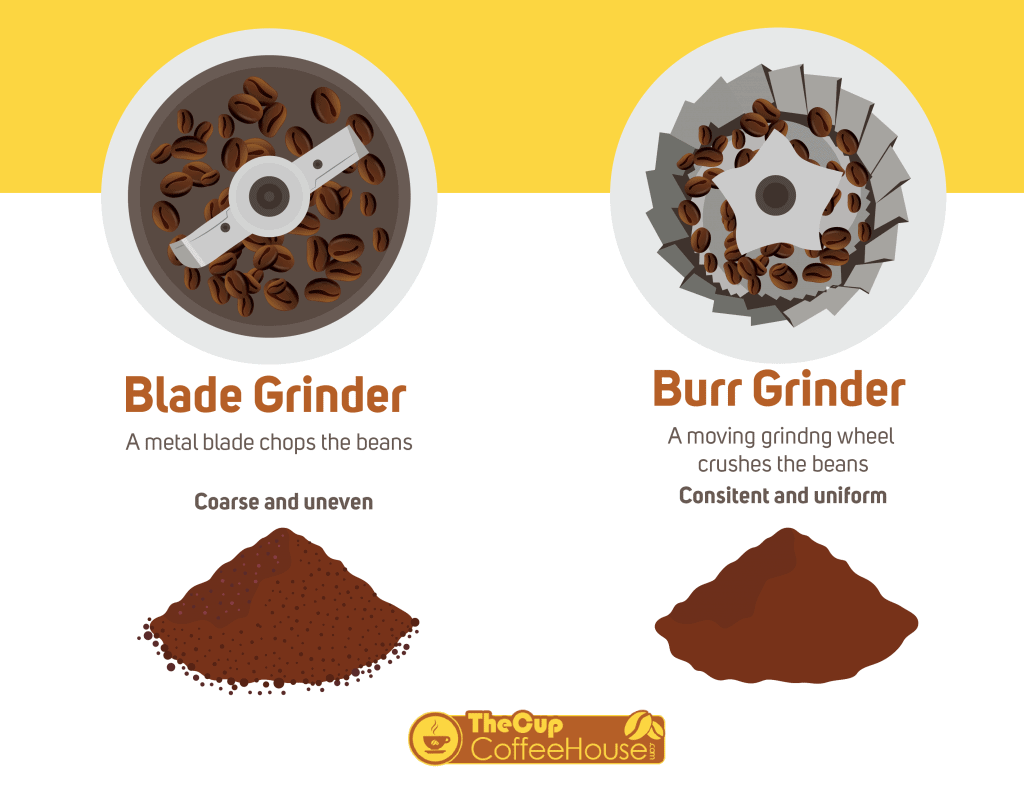
In layman’s terms, burrs grind with pressure rather than by chopping the coffee beans. This makes it the preferred tool to use.
A burr grinder also has multiple settings, so you can choose the best consistency for your chosen brewing method. Overall, this will help you to achieve the coffee flavor and consistency that you love the most.
High-Quality Whole Coffee Beans
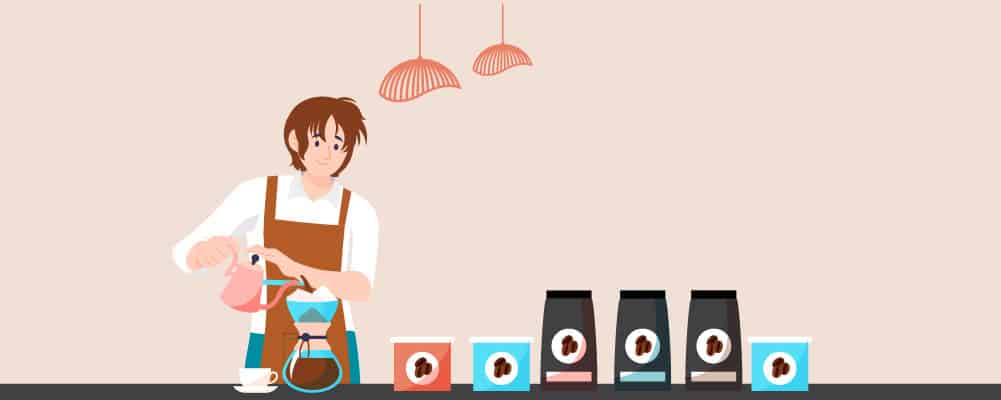
Another thing you should do is invest in quality, fresh beans. Coffee beans begin to rapidly lose their aroma and flavor notes quickly after the roasting and grinding process.
To retain the freshness of your brew while boosting its taste, you should keep an eye out for whole beans with a roasting date.
This will ideally be within the past few days and will generally be printed on the package for you to easily identify whether or not the coffee beans will be right for you. If your coffee doesn’t have a date printed onto the packaging, you might want to simply look elsewhere.
The more recent the date is, the fresher the coffee beans will be. Make sure you don’t grind the beans until you are officially ready to get your brew on!
Water Filter
Filtering your water means you can get rid of excess minerals and impurities in the water, resulting in a better and purer-tasting drink.
Water filters utilize an activated carbon filter to remove chlorine, and sediment, and reduce the total hardness (TH) of water. If these things are not filtered from the water then they could cause problems in your coffee machine mechanism almost immediately!
It may also introduce odd flavors to your brew which is something you most definitely do not want.
To achieve maximum flavor extraction, the optimal brewing temperature for a cup of coffee remains anywhere between 195 and 205 degrees Fahrenheit. You can use a thermometer to ensure your water is hot enough for the job!
5. Weigh Your Coffee—And Water
Taking the time to measure coffee beans and water likely isn’t part of your ideal routine when you’ve quite literally just rolled out of bed.
But even a single gram off could significantly alter the taste of your coffee, so it’s essential that you properly measure your core ingredients.
Simply put, weighing both your coffee and water is an important step that yields instant and highly delicious results!
Not only will it improve the general flavor, but you’ll also save money on coffee if you weigh out the proper dose as you will not be wasting any additional coffee.
As a result, it’s probably in your best interest to purchase a coffee scale of some kind — especially if you are a serial coffee drinker!
A gram scale can help you to measure the precise amount of coffee and water you want to add to your drink to guarantee the perfect ratio when you begin brewing.
Keep this scale right next to your coffee maker so you can quickly access it to weigh coffee and water when you brew your morning cup of joe.
6. Take the Water’s Temperature

Your coffee brewer should ideally have a water temperature of anywhere between 195 and 200 degrees Fahrenheit for prime extraction. You can use a thermometer to ensure that the filtered water is hot enough to add to your coffee.
As we mentioned before, using cold water may result in under-extracted and flat coffee that tastes sour and salty. Boiling water may lead to over extraction and a cup of coffee that taste bitter and dry instead of nice and sweet.
If you’re brewing your coffee manually, you may reduce the bitterness by using egg shells, but you should allow the water to come to a full boil but without over-boiling it. Turn off the direct heat source, let the water rest for about thirty seconds to a minute, and then pour it over your coffee grounds.
A cup of coffee will usually cool pretty rapidly after being served. This is especially true for individuals who prefer to add some milk or cream to their coffee which also works to cool down the drink.
7. Time It

The brewing time (the time the water has contact with the coffee grounds) is yet another thing you should consider when learning how to brew the perfect cup of coffee. It has a huge impact on the overall flavor of the coffee!
Instead of guessing when the brewing is complete and potentially putting at risk all the work you have done up to this point, you can simply set a timer. Feel free to use your smartphone or invest in a kitchen timer for this part.
Timing this process is essential in making sure that you do not under-extract the flavors from your coffee grounds. If you do, you could end up with either a sour cup of coffee that is very difficult to drink!
Alternatively do not over-extract the coffee. This happens when too many soluble alkaline flavors are removed from the coffee. This results in your coffee tasting bitter, with all the compounds for fruity sweetness being overwhelmed and lost in the coffee.
For a pour-over coffee, brewing time should be anywhere between 3:30 to 4 minutes. A cold brew, on the other hand, requires a longer contact time (generally 12 hours or more) to properly extract the flavors.
8. Pick Your Brew Method

As we’ve touched on, there is no ‘right way’ to brew a cup of coffee. You may end up changing your method to find the perfect one to suit your taste preferences.
Yet by taking the time to look at different brewing methods you will all but guarantee a flavorful and high-quality cup of coffee every single time you brew.
Each of the methods listed below produces a distinct taste. Again, the focus should be on selecting the one that best matches your flavor preferences.
Aeropress
This plastic device was the product of physicist and engineer Alan Adler who sought to find a quicker brewing method than your typical drip coffee maker. Aeropress is the Swiss army knife of brewing methods.
It is versatile – to the point where it actively welcomes improvisation – and has a delightfully silky mouthfeel.
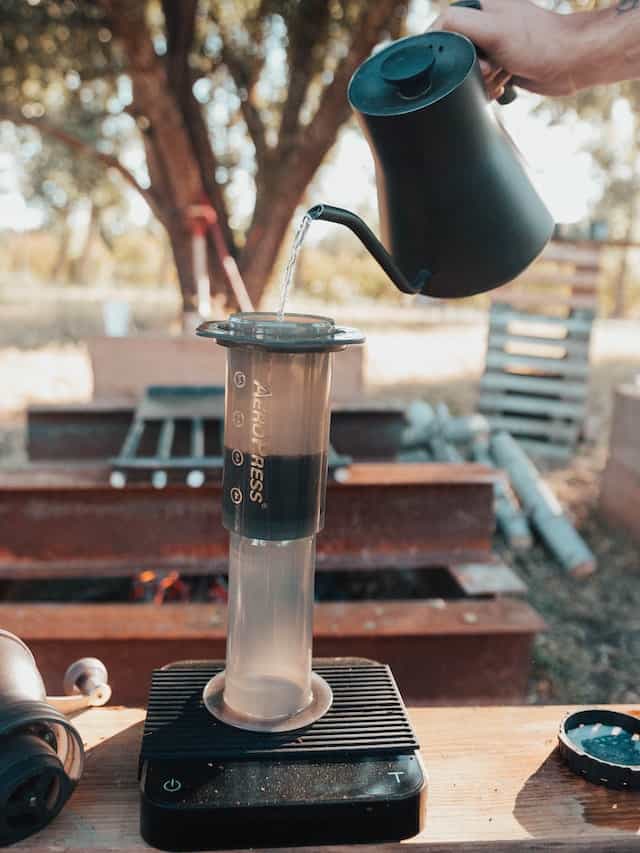
Photo by Ben Moreland
Aeropress coffee requires a finger grind size to achieve its flavor. As a result, it is often characterized by these espresso-like qualities and can be a pretty concentrated hot drink. However, this type of coffee can also be finished with boiled water to replicate a pour-over.
This method combines immersion (where coffee grounds and water steep) and filtration (like a pour-over) to create a complex cup of coffee with an excellent body and aroma. It’s best served to a minimalist, a traveler, or a simple coffee lover.
How to Use an Aeropress
- Start by grinding the coffee beans to a fine consistency.
- Dampen the rubber piston and begin pushing it into the brewing cylinder – around a ¼ inch. Then, flip the Aeropress upside down and quickly put it on a gram scale for accurate measurements. Make sure to zero the scale.
- Add the necessary grams of coffee to the cylinder then zero the scale once again.
- Slowly add around 250 grams of hot filtered water (205° F).
- Steep for about 1 minute and 15 seconds.
- Start putting the paper filter into its holder, wet the filter with some moderately hot water, and then secure the holder.
- Flip the brewer over and stand it on top of a mug. Gently begin to press down on the brewing cylinder with constant pressure until the water has all been pushed through the machine.
And voila! You now have concentrated coffee to enjoy.
Chemex
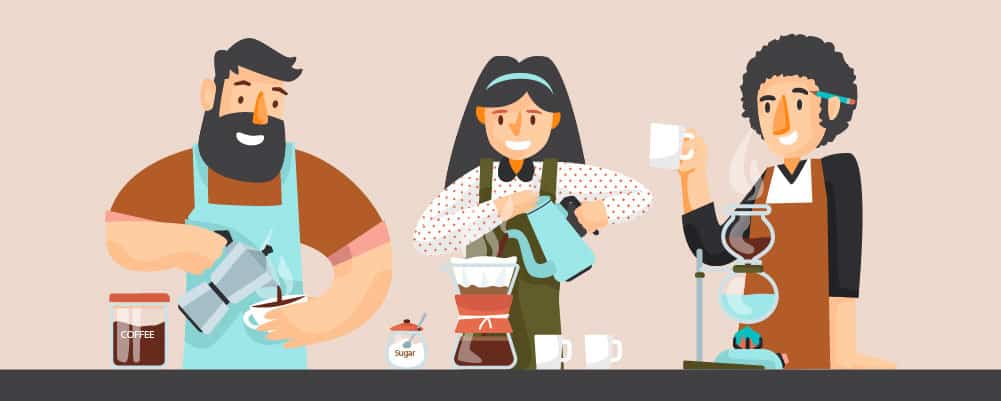
A Chemex is a pour-over style coffee maker that features a non-porous glass flask in the shape of an hourglass. This method means that water can pass through a bed of coffee and a filter that is usually made from paper.
It also means that any coffee that passes through a Chemex filter will be less exposed to water and generally far less bitter than other brewing methods.
In terms of its flavor, think aromatic, complex, and balanced with juicy and sweet undertones. (A bit of a weird mix, we know, but it sure does work!)
If the pour-over brew method is what appeals to your preferred coffee taste, but you are eager to make more than a single cup at any given time, a Chemex classic carafe can brew anywhere up to around 8 cups of coffee for you.
Thick Chemex filters work to regulate the filtration of the water to make sure sediment and impurities are kept out of the final beverage. The carafe is pretty easy to pour, yet its narrow neck can be difficult to clean by hand between uses.
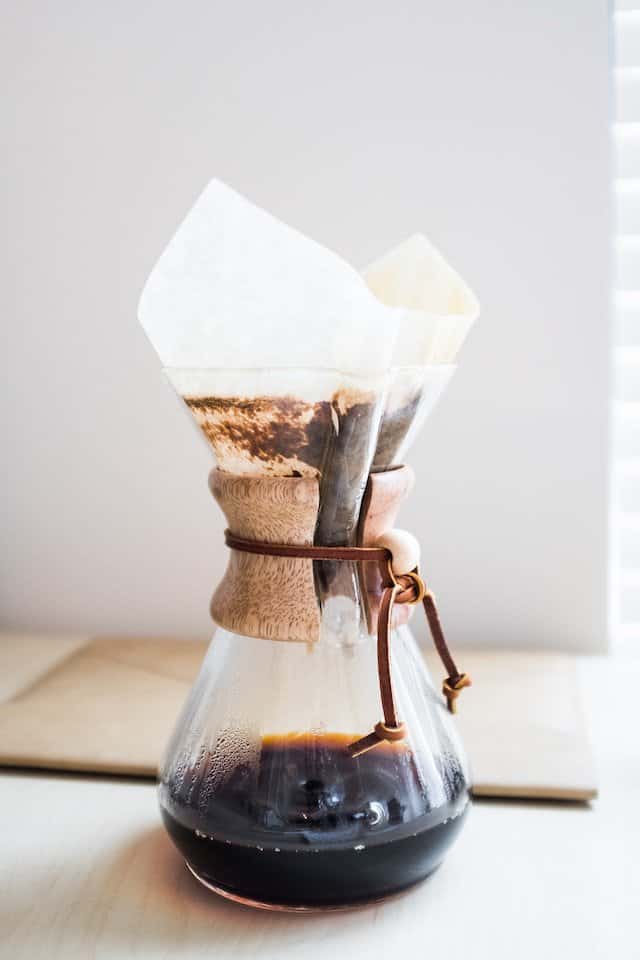
Photo by Grace Ho
How to use a Chemex
- Grind your coffee beans to a medium-fine consistency.
- Place a paper filter in the vessel and then moisten it with hot water. Get rid of any excess water from the filter.
- Put the Chemex on a gram scale. Make sure to zero the scale so the reading is accurate.
- Place around 32 grams of ground coffee into the filter. Then zero the scale once again.
- Pour about 60 to 70 grams of hot filtered water (205° F) in a circular motion so that all of the coffee grounds are completely covered. Wait anywhere from thirty seconds to 45 seconds for it to brew.
- Slowly pour the remaining water in a circular motion over the coffee grounds until the scale hits a total of 500 grams..
- Enjoy your freshly brewed coffee.
French Press
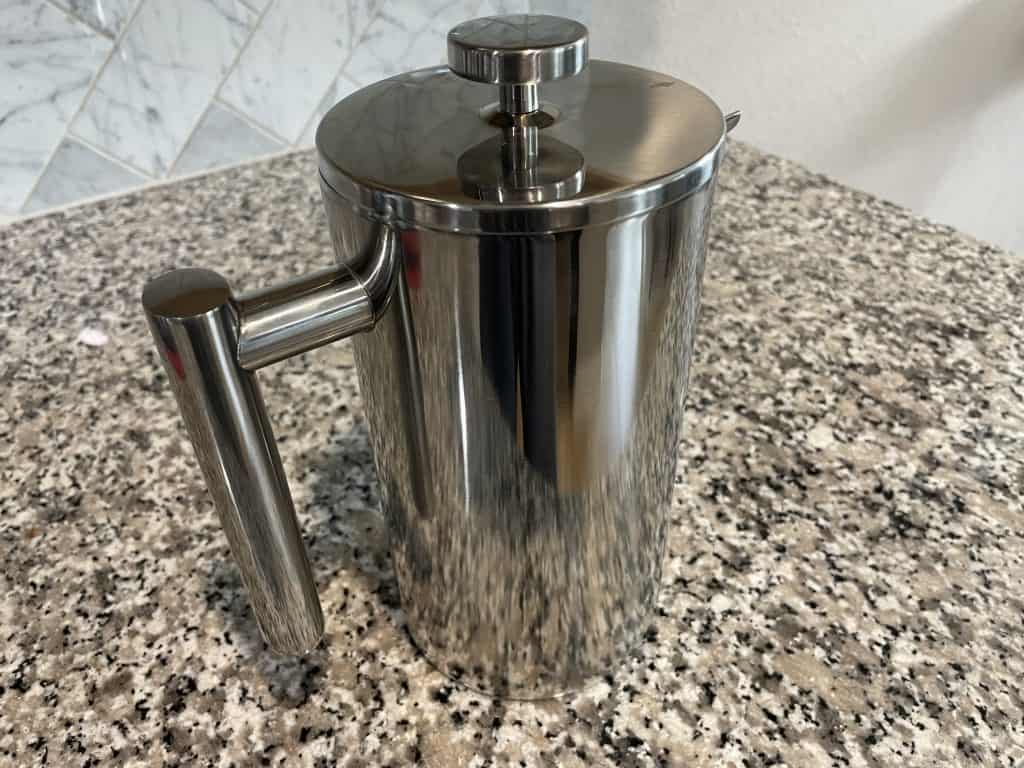
If you adore full-bodied coffee, the French press method will be perfect for you! A French press is sort of like a strainer meets plunger and allows you to brew ground coffee in a container via a simple process that includes brewing, pressing, and straining coffee.
This machine doubles as a serving carafe and features a heavier and much denser texture than a pour-over method which means that it thrives when combined with cream or milk.
With the immersive French press method, coffee grounds are immersed in the water and then strained using a metal filter. These allow undissolved coffee particles and oils to pass into the cup.
How to use a French Press
- Grind your coffee beans so they are coarse.
- Put the carafe onto a gram scale and zero it.
- Place your coffee grounds into a carafe and zero the scale once again.
- Gently pour a small quantity of hot filtered water (around 250 grams) onto the coffee grounds. You should immediately notice a bloom beginning to form as foam on top of the water in the press pot.
- Let this remain for about 15-20 seconds and then stir it properly with your spoon. This will make sure that all of the grinds have been in complete contact with the water.
- Add water so it hits 500 grams in total.
- Complete your go-to French press brew routine which will normally involve about 3-4 minutes of steeping time. After two minutes have passed, make sure to stir again.
- At the fourth minute, slowly press the plunger and pour it into the cup. Now you can enjoy your favorite coffee flavors!
Espresso
Espresso is a great way to get a dose of caffeine to kick-start your day when you don’t have time to drink a whole cup. It is a strong drink, with a powerful aroma and wake-you-up taste.
You will need an espresso machine to make this (or if you don’t have one there are other options), and you need to ensure that your coffee beans are adequately ground very finely first.
How to Make an Espresso
- Using a dark roast and a good grinder, grind up around 6 – 8 grams of coffee beans for a single espresso shot, or 15 grams for a double. Ensure that the beans are fine and powdery.
- Transfer your ground coffee onto a flat surface in the portafilter. Distribute the grounds with a finger and tamp the grounds down into a compact disk inside the portafilter.
- Next, purge your machine, running it briefly without the portafilter to clear the head. Then, lock in your portafilter and position your glass ready for your coffee.
- Turn on your machine and begin to pull your show. It should be ready between 20-30 seconds, although this does depend on what machine you have. Expect to do taste tests to find your espresso preference.
- Your coffee should not be too dark or too light, and it should not taste bitter or acidic. It should be topped with a caramel colored layer of crema on the top.
- Add milk to finish if to your tastes.
Espressos can be made differently, as every machine will work in its own way. Always consult the instruction manual of your individual machine before you start preparing your espresso.
As a beginner, a Nespresso machine or Breville machine is a good way to start with making espressos.
Auto-Drip
An automatic drip coffee maker is a type of device used to brew coffee via a filter-drip method. With an auto drip, water is put into the automatic drip machine which quickly heats the water and drains it directly onto a bed of roasted, ground coffee.
The water seeps through these grounds and absorbs the flavor of the coffee that we all know and love. The coffee beans are then passed through a paper filter and into a coffee pot.
A lower amount of control over your brew could mean a less complex tasting cup of coffee than other methods. Yet if it’s convenience you’re after, this is a great method of brewing your coffee! You can make a small pot or a full 60 oz pot fairly quickly.
How to Make Drip Coffee
- Grind the coffee beans to a medium-fine consistency.
- If you are using a paper filter, place it in the filter basket and then moisten it with hot water. Allow the water to run through to the carafe and then discard it.
- To make four 6-oz. cups, make sure to place around six Tbsp. of ground coffee into the filter. Then pour 24 oz. of cold filtered water into the water reservoir and press start.
- Now you can sit back, relax, and enjoy your favorite coffee!
9. Descale And Clean Your Coffee Maker Regularly
It’s so important to make sure you always descale your coffee maker on time. You may want to do this (with vinegar or recommended solution) every time you use the machine, according to the manufacturer’s recommendations, or even when the appliance prompts you to do so.
The process of descaling a coffee maker will help to remove any mineral buildup between uses. Not only does this keep things clean but it reduces the chances of impurities finding their way into the water in your next brew.
This is great advice to follow if you own a Keurig machine or a drip-brew coffee maker, but not so much for a pour-over or a French press.
Frequently Asked Questions
Where do you find good coffee?
If you’re a keen traveler, you’ve likely visited local coffee roasters and sampled many types and flavors of coffee in the different places you have visited.
Yet if you truly want to be able to understand and appreciate the taste differences in cups of coffee, you will need to start with a good baseline.
The solution? Find your perfect coffee brew and use that as a comparison object for all of the other coffee types that you try. This will give you a real indication as to whether the coffee is good or not.
You can also deem a cup of joe as ‘good coffee’ if it is completely fresh. A fresher cup of coffee will give you that little bit extra depth in its flavors that will leave your palate begging for more.
How important is fresh coffee?

Fresh coffee is the only surefire way to brew the perfect cup of coffee. In fact, a coffee snob may consider it blasphemy to use anything other than fresh coffee beans!
Once you have roasted coffee beans they quickly begin to lose flavor, and even more so after grinding. This is because its edges are directly exposed to lots of oxidation immediately after the grinding process.
So using old coffee means decreased unique flavor notes and an overall unsatisfactory experience.
How long will ground coffee stay fresh?
There’s no specific answer to this question. However, general rules state that ground coffee can stay fresh for anywhere ranging from four to five weeks provided it is kept in an airtight container, kept out of the path of direct sunlight, and stored safely away from any heat.
Taking the time to grind your coffee just before brewing your beverage will help to provide you with the best-tasting type of coffee possible, although we can’t guarantee a miracle!
Final Thoughts
Brewing the perfect cup of coffee is an art form that will likely take you a couple of tries to master. No barista became great after one or two brews.
If you follow the instructions and tips in this article, stay consistent in your brewing, you should be well on your way to achieving the perfect brew in no time at all!
Make sure you work out your preferred coffee flavor and your ideal brewing method so you can arm yourself with the best equipment and ingredients possible. This will ensure a high-quality brew every time!
Interested in more cool ways to brew the perfect cup? Check out these in-depth articles!
- Brewing coffee with milk – yes its a thing, and we show you how.
- How to love coffee – if you can’t stand the taste of black coffee, we share with you secrets to be a lover instead!
- How to brew cold brew coffee – if you the cool refreshing taste of smooth cold brew coffee, we detail the ratios needed and best recipes.
- How to use a Keurig – learn all the tips and tricks you need to know to operate these popular single serve machines.
- How to make iced coffee with instant coffee – cool, refreshing, and easy to make. we got you covered!
- How to froth milk without a frother – fancy frother or not, we show you all the best way to get the thickest, milk foam.
- How to make coffee without a coffee maker – no coffee pot at home? Not to worry, there are plenty of ways to whip up a nice brew even if you have no machine.
- How to make sweet cream cold foam – a Starbucks delicious copy cat recipe
- How to make a macchiato – easy step by step guide to brew this classic espresso like beverage
Coffee Has Never Read This Good!
Sign up for a FREE newsletter to the best home brewing tips and guides
Thank you for subscribing to The Cup Coffee House Crew! There's a surprise in your Inbox 🙂
Something went wrong.
- About the Author
- Latest Posts

“Jules” is a pharmacist by day and investor, writer, and health nut by night. When he’s not sipping on some coffee laced with MCT oil during an 18 hour fast, he is writing about how to get your coffee grind on or playing Monopoly with his 2 boys and wife. Ahh…life is good!
